
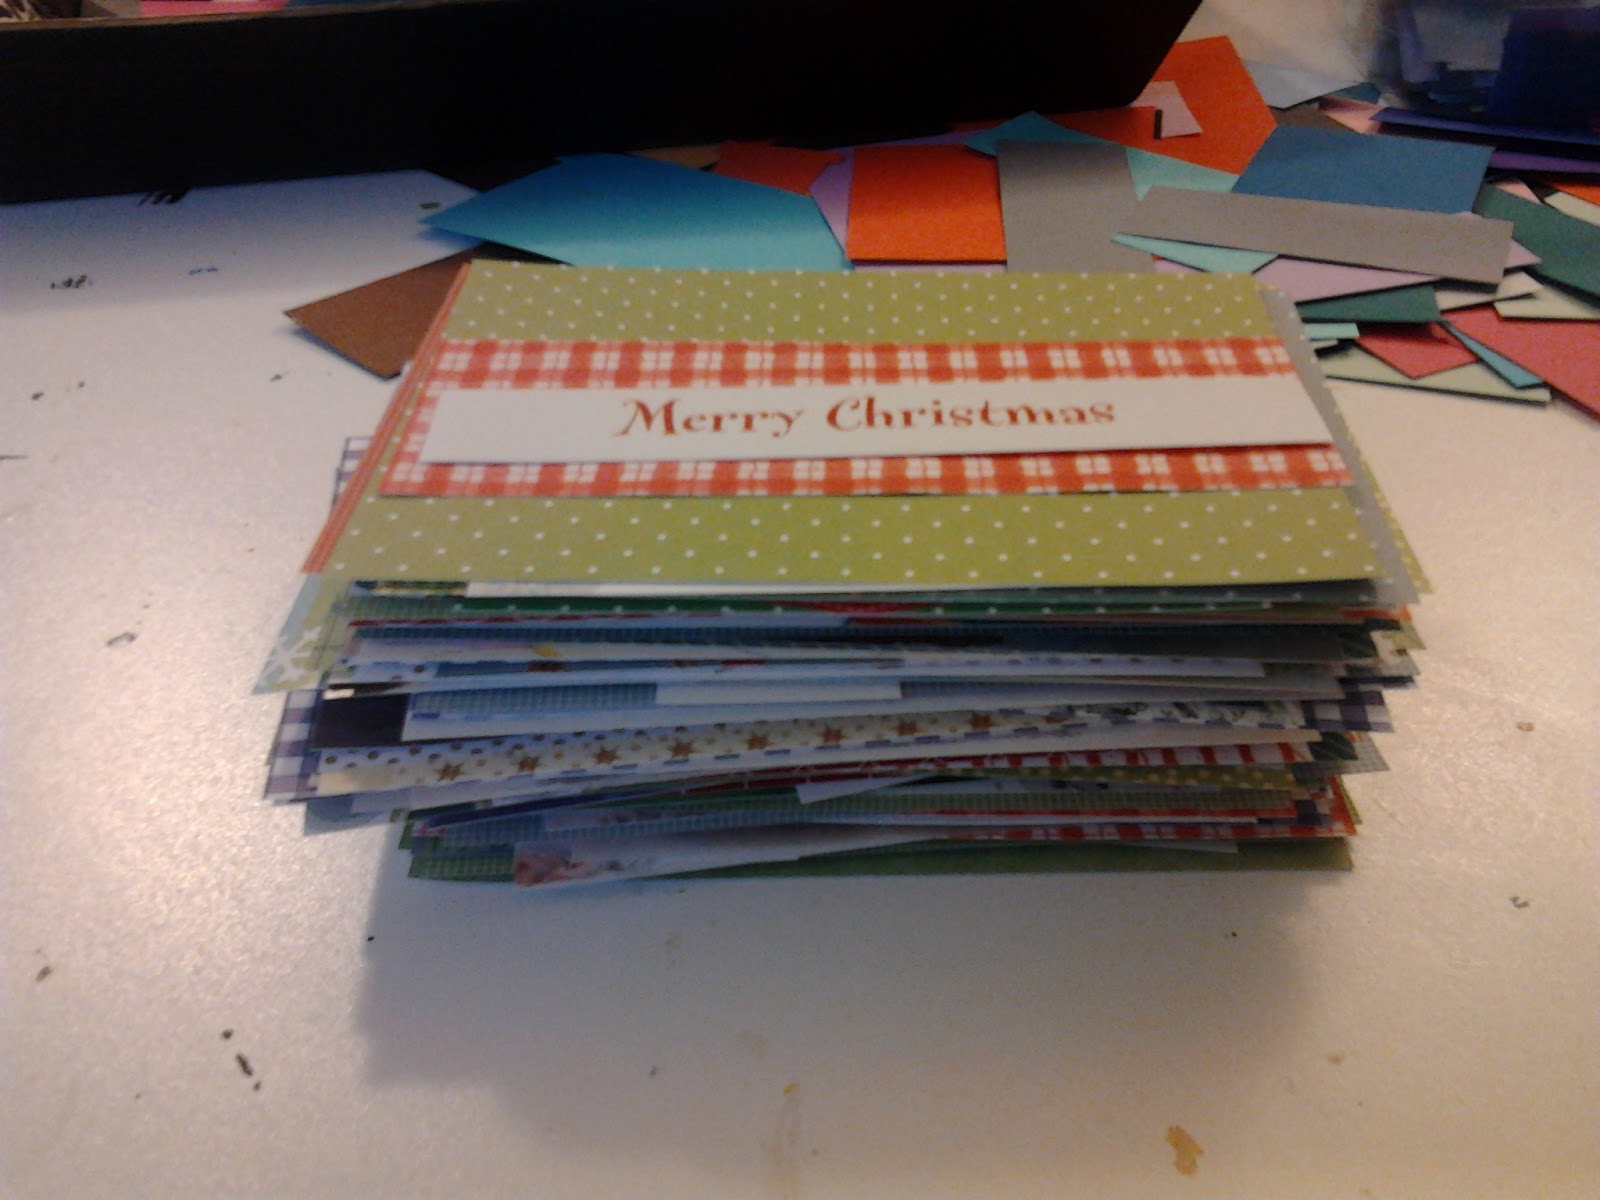
Step 1: The first step is to acquire old holiday cards. Luckily, I have many family and friends that know about my business and donate old cards So, at the beginning of the season I can pull out a whole pile of cards, like this:

Step 2: When I was a child, my mother would always have me cut up old Christmas cards to use for gift tags the following year. This step is very similar; I cut images and messages from the cards that I want to re-purpose into new cards.

Step 3: I cut red, green, silver, and gold background paper to the size of my cards.

Step 4: Spreading out the background paper on my craft table, I then match the images and messages with the right background based on color and mood (vintage, contemporary, cute).

Step 5: Using a double-sided tape dispenser, I tape all the images to the background paper. Many of the images/messages get another border of red or green paper to serve as "frames."
Step 6: I take out all my holiday stickers and add embellishments to almost every card. By far the most fun step!

Step 7: Now that the designs are done, each card is mounted onto solid-color card stock to serve as a final "frame."

Step 8: Card images are then stuck onto the actual card and matched up with an envelope. A Clipped Greetings sticker goes on the back. Made in Chelmsford, MA!

Step 9: Cards are put in variety packs for the holidays and tied with ribbon.

These packs include 10 cards are now $25 (Normally, a $40 value)! You can stock up by contacting me at: clippedgreetings@gmail.com or stopping by my booth at the Westford Academy Holiday Bazaar on December 1st.
No comments:
Post a Comment